This guide walks you through creating a deployment for a GitHub repository. It assumes you've already created a Dosu account and have access to the dashboard.
1. Create a Deployment#
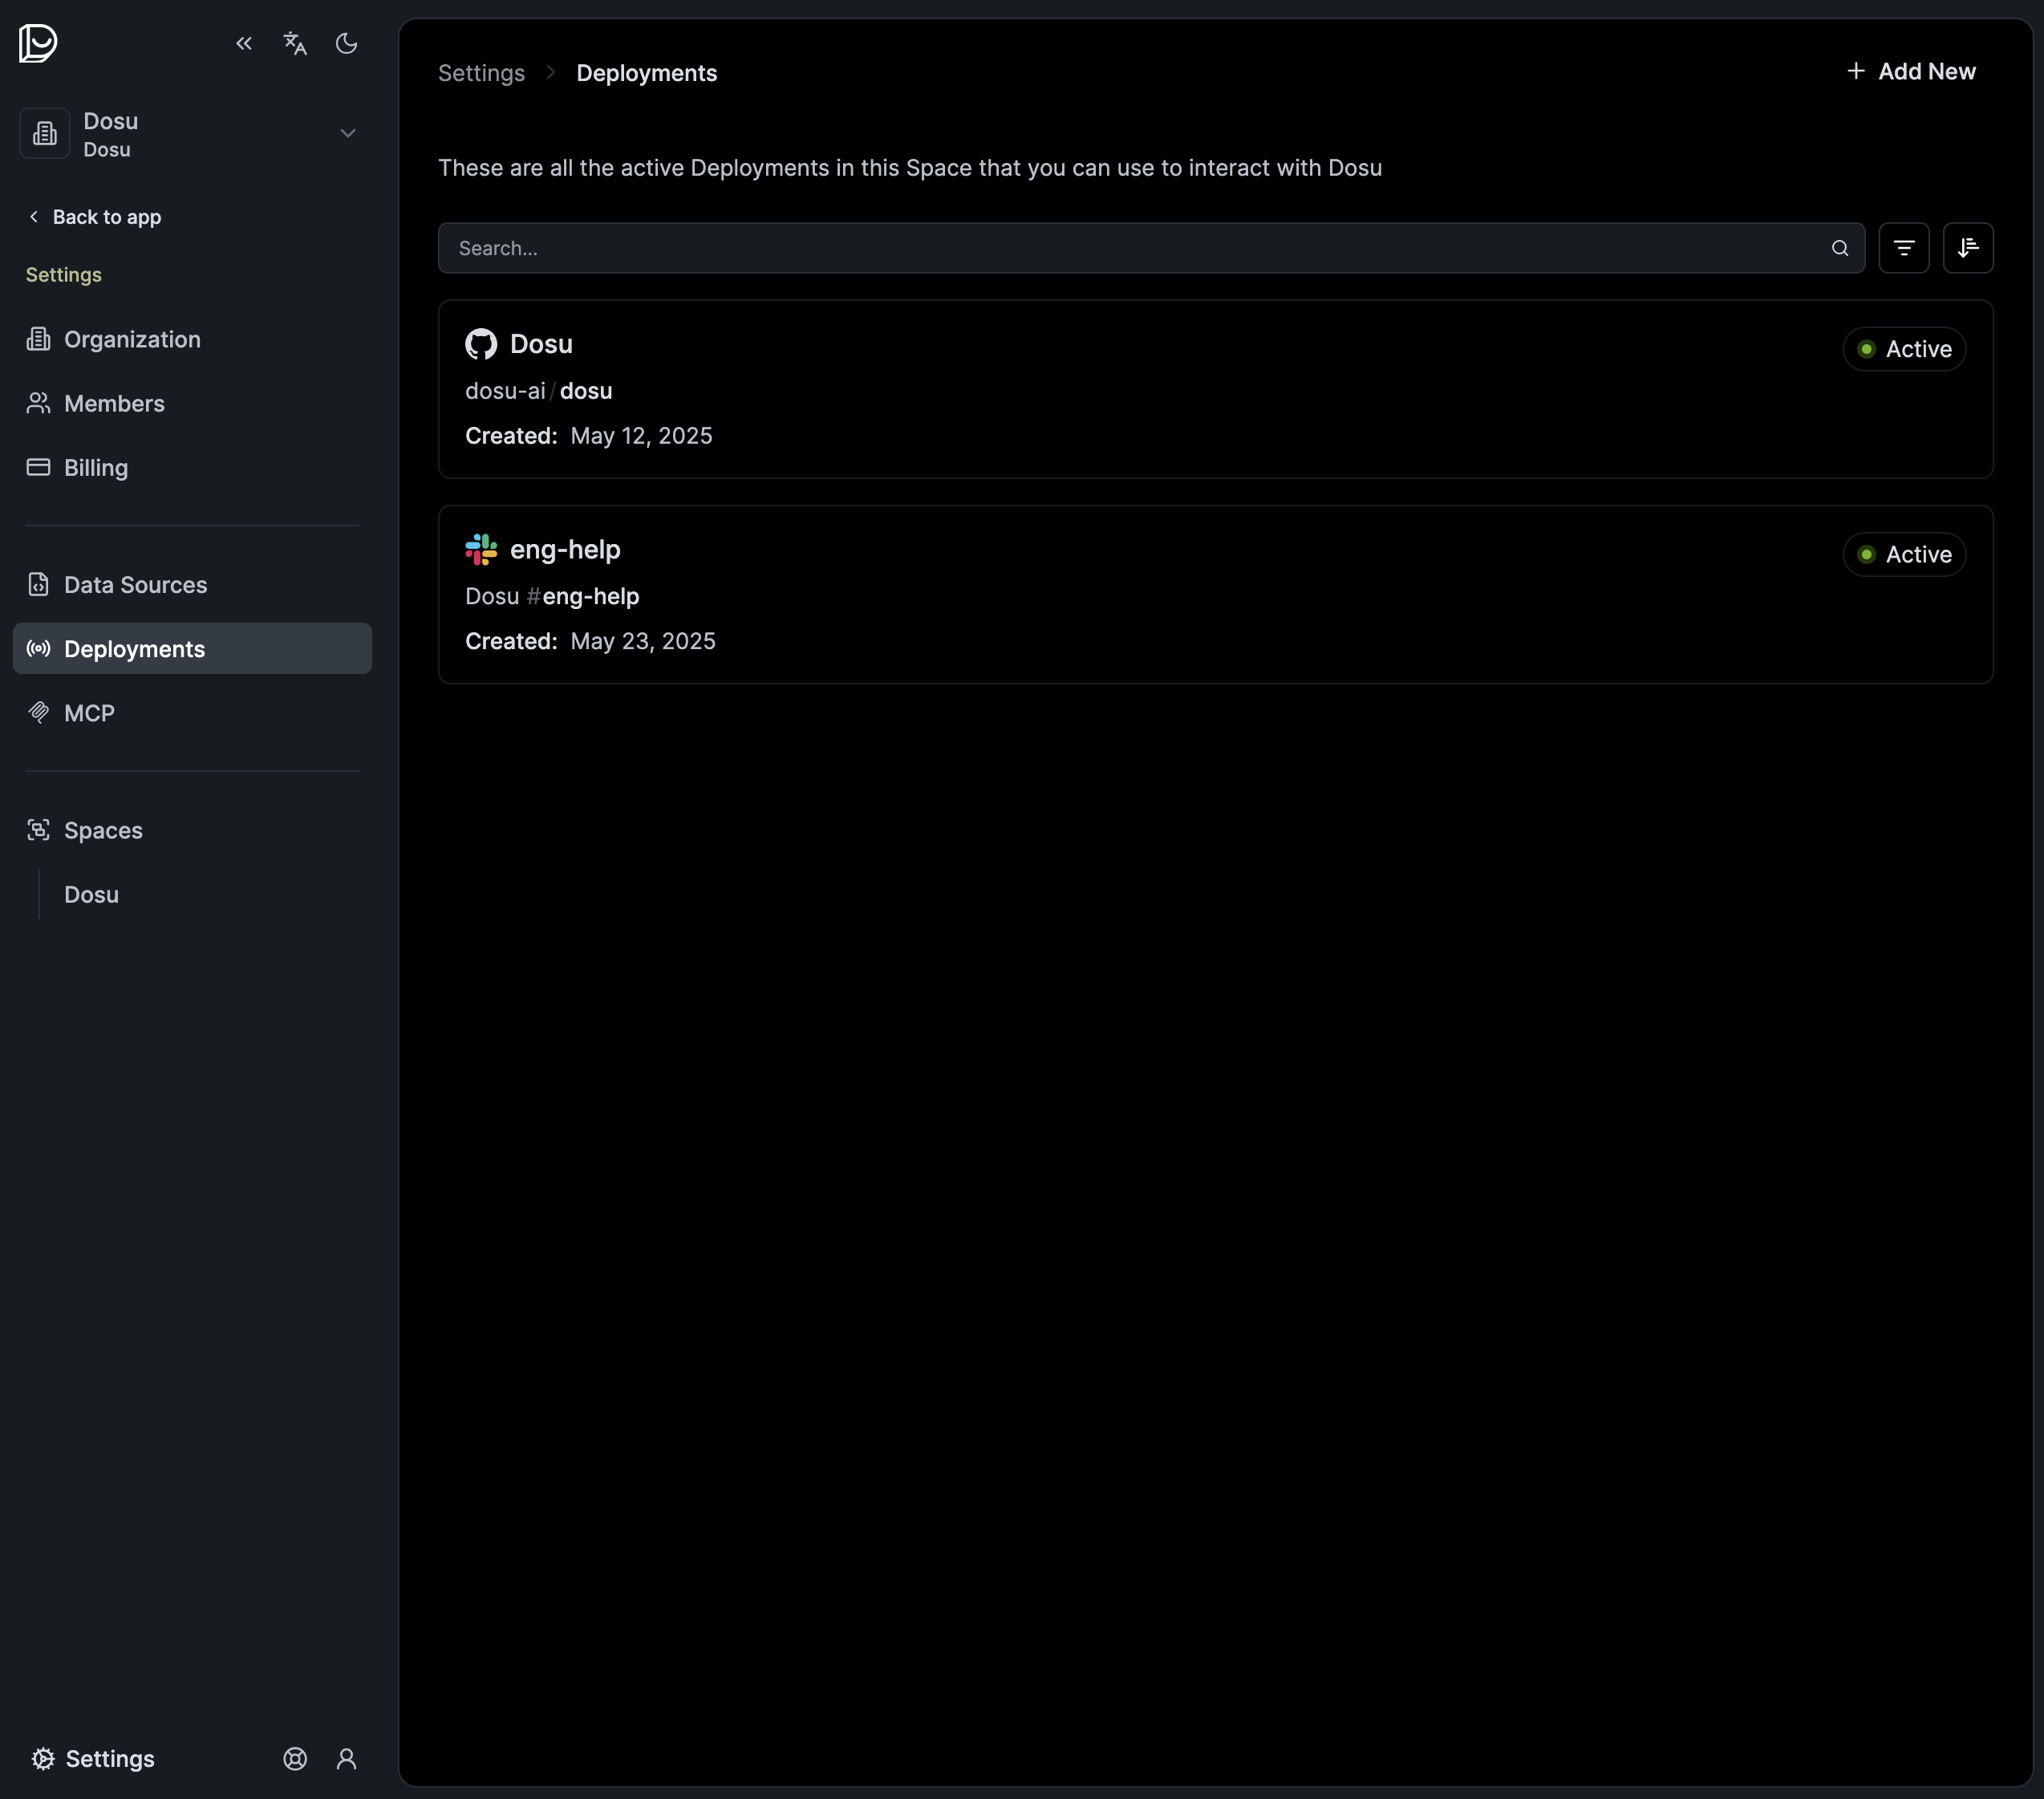
Go to Settings > Deployments. This page displays all of your organization's deployments.
Click Add New to get started.
2. Select Deployment Mode#
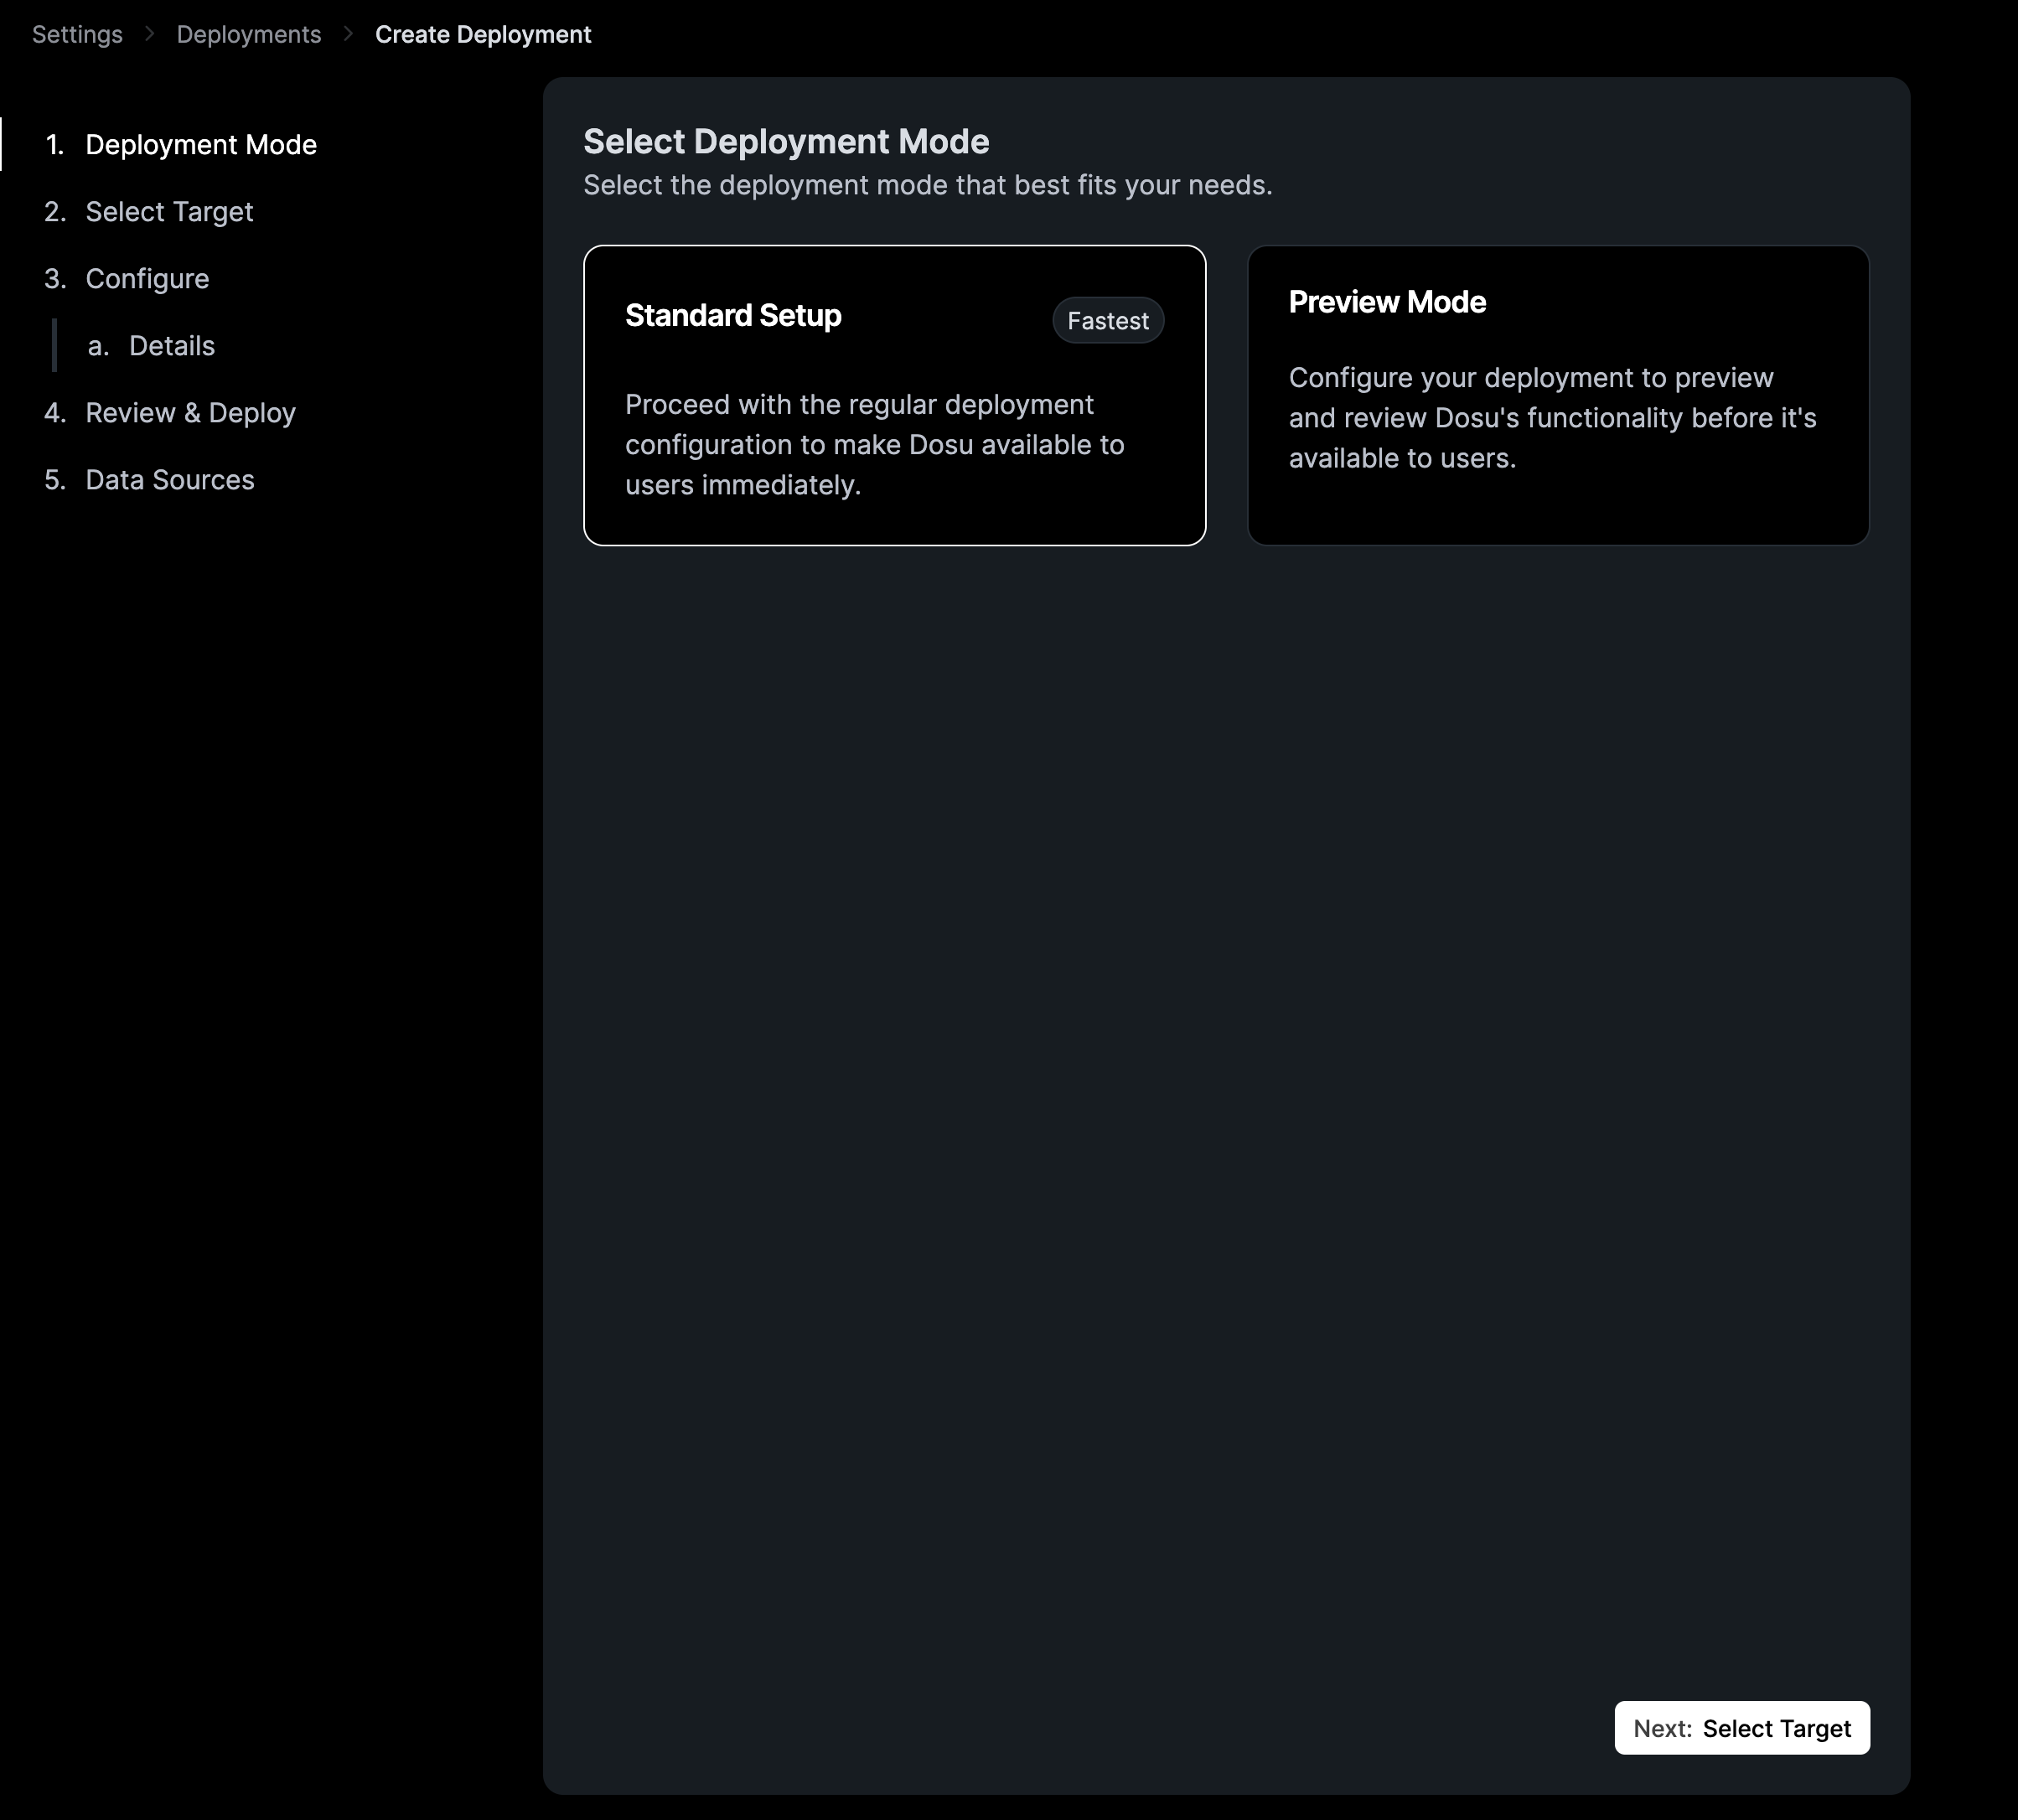
You'll be prompted to select a deployment mode:
Standard Setup gives you complete control over the deployment's configuration. Use this when you're ready to customize Dosu's behavior for your repository.
Preview Mode is the quickest way to test Dosu without affecting users. It creates a deployment with all public features disabled and generates preview responses for you to review in the dashboard.
3. Select Target#
Choose the GitHub repository where you want Dosu to be active.
If you don't see your repository listed, you may need to install the Dosu GitHub App on your account or organization first.
4. Configure#
Configure how Dosu behaves in this deployment. Each setting includes a brief explanation in the UI. For detailed information about each option, see GitHub Configuration.
5. Review and Deploy#
Review your configuration, then click Create Deployment to finish.
Your new deployment will appear on the Deployments page.
6. Interact with Dosu#
With your deployment created, you can interact with Dosu in two ways:
From the dashboard: Go to the Review page to generate and preview responses before they're posted.
From GitHub: Mention @dosu on any issue or discussion in your repository. Dosu will respond with relevant context from your connected data sources.